Introduction
A gallery wall is a fantastic way to showcase your personal style and add a unique touch to your home decor. Whether you want to display family photos, artwork, or a mix of both, creating a DIY gallery wall can transform any blank space into a stunning focal point. This guide will walk you through the process of planning, designing, and assembling your own gallery wall.
Step 1: Choose the Right Location
Selecting the perfect spot for your gallery wall is crucial. Consider areas like living rooms, hallways, staircases, or even your bedroom. Ensure the chosen wall is prominent and has enough space to accommodate your vision.

Step 2: Decide on a Theme or Style
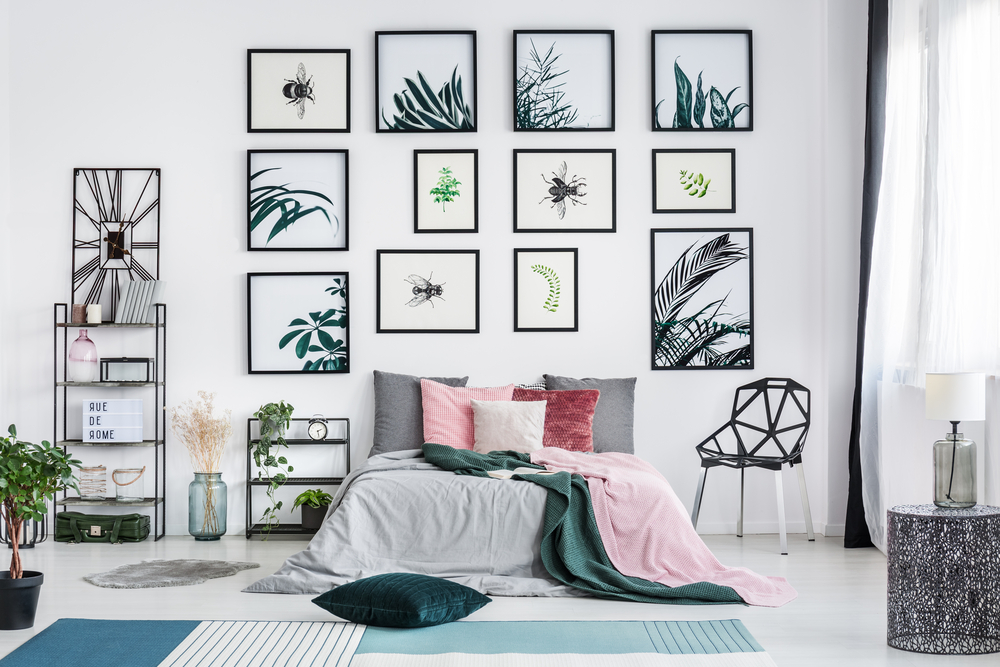
Before you start collecting frames and artwork, decide on a cohesive theme or style. This could be a color scheme, a specific subject matter (like travel photos or botanical prints), or a mix of eclectic pieces. Having a clear theme will help unify the overall look of your gallery wall.
Step 3: Gather Your Art and Frames
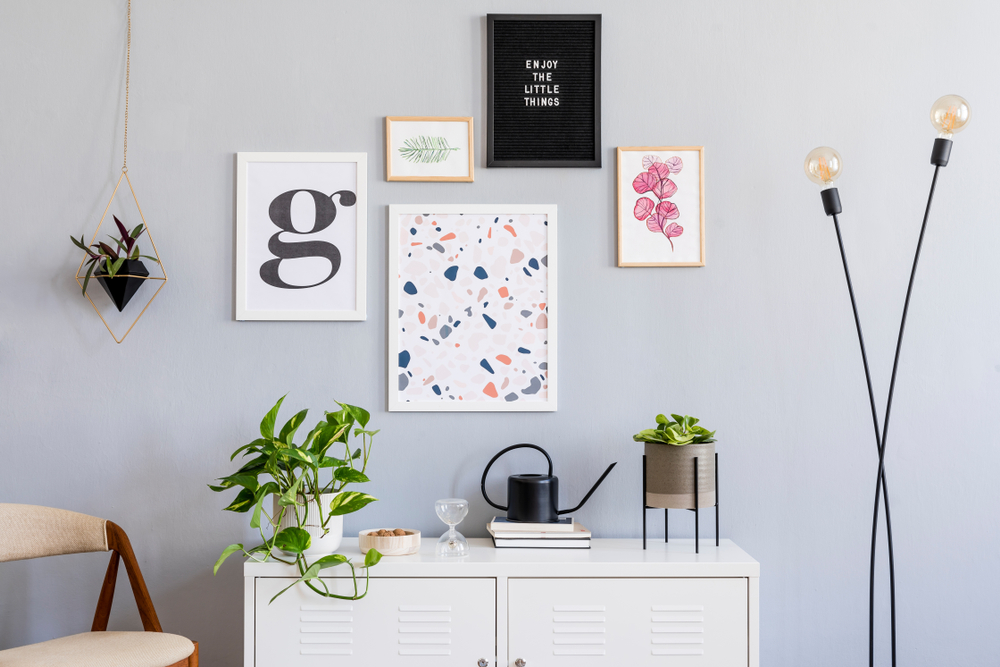
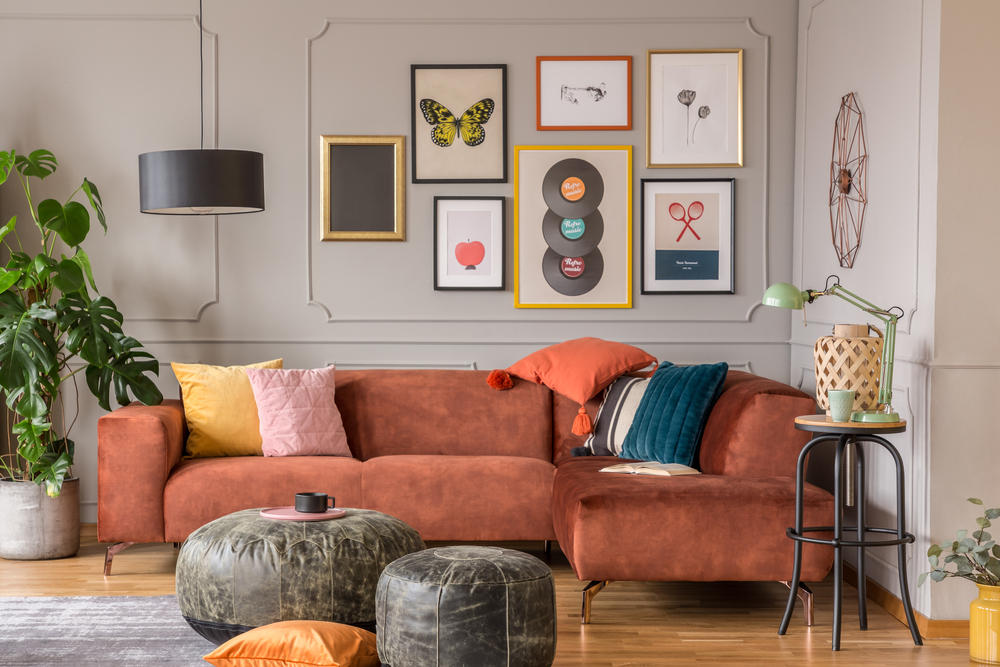
Collect a variety of artwork, photos, and frames. Mix different sizes, shapes, and textures to create visual interest. Thrift stores, online marketplaces, and even your own photo collection are great sources for finding unique pieces. Don’t be afraid to include 3D objects like small shelves or decorative items.
Step 4: Plan Your Layout
Lay out your frames and artwork on the floor to experiment with different arrangements. Start with the largest pieces and work your way down to the smallest. Aim for a balanced look, keeping similar colors and styles spread evenly throughout the layout. You can also use painter’s tape to outline the arrangement on the wall.
Step 5: Prepare the Wall
Once you’re satisfied with the layout, it’s time to transfer it to the wall. Use a level to ensure your frames will hang straight. For a precise arrangement, you can create paper templates of each frame and tape them to the wall as a guide.
Step 6: Hang Your Artwork
Start by hanging the central piece and work outward. Use appropriate hanging hardware based on the weight of each frame. Command strips are a great option for lighter pieces and won’t damage your walls. For heavier frames, use picture hangers or wall anchors.
Step 7: Add Finishing Touches
Once all the pieces are hung, step back and admire your work. Make any necessary adjustments to ensure everything looks balanced and cohesive. You can also add small decorative elements like plants, sconces, or string lights to enhance the overall look of your gallery wall.

Step 8: Maintain and Refresh
Over time, you might want to update your gallery wall with new artwork or photos. Don’t hesitate to refresh the layout to keep it dynamic and reflective of your current style and interests.
Conclusion
Creating a DIY gallery wall is a rewarding project that allows you to express your creativity and personalize your home. With careful planning and a bit of effort, you can turn any blank wall into a beautiful display of your favorite memories and artworks. Happy decorating!


